Adjusting the airflow direction
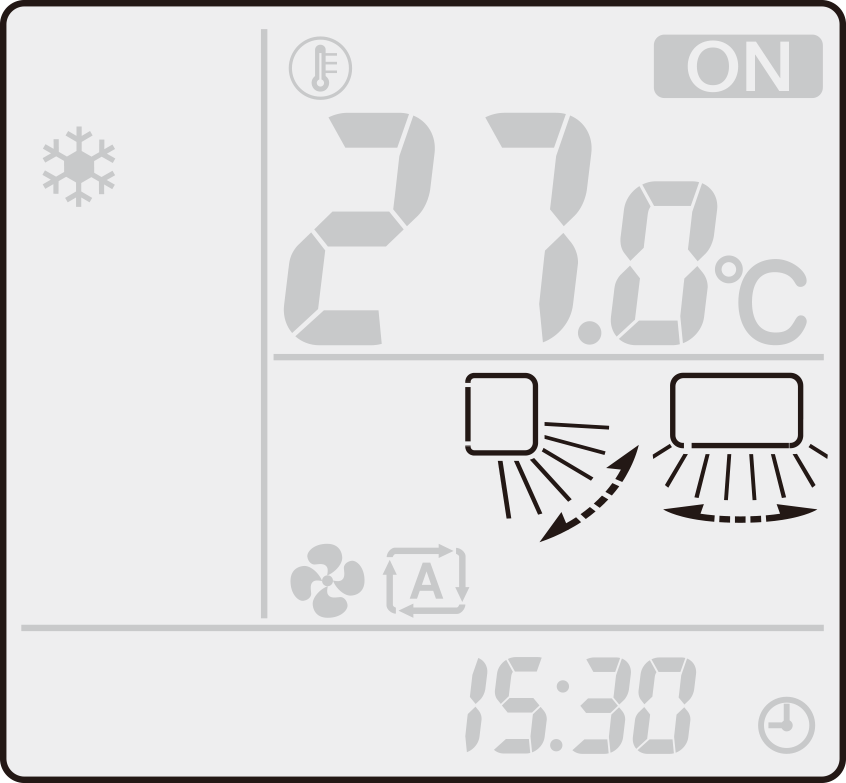
You can adjust the airflow direction to increase your comfort.
 CAUTION
-
Always use the remote controller to adjust the angles of the flaps and louvres.
- If you attempt to move the flaps and louvres forcibly by hand when they are swinging, the mechanism may be damaged.
- Be careful not to place your fingers inside the air outlet, as a fan is rotating at high speed.
To adjust the flaps (horizontal blades)
Press
.
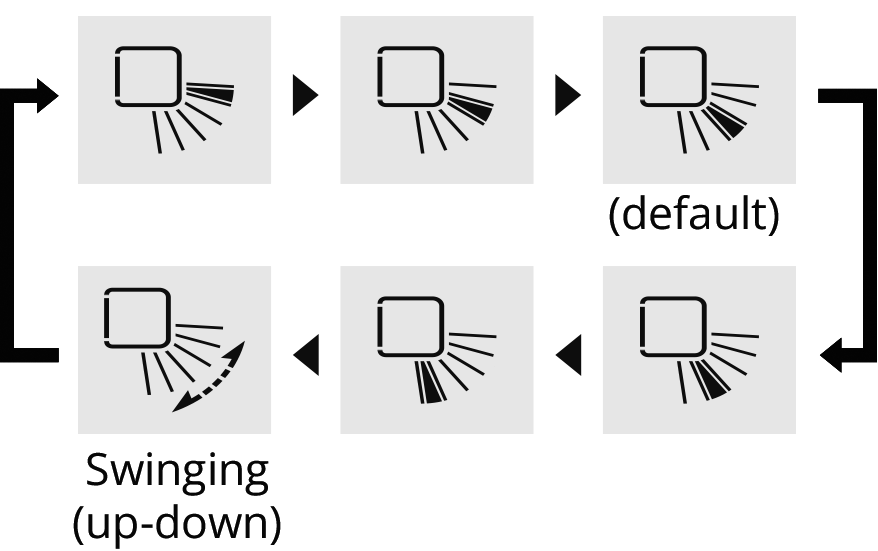
- Each time you press the button, the airflow direction indicator changes.
-
The flaps (horizontal blades) will begin to move vertically.
The airflow direction : 5 steps
NOTE
Notes on airflow direction setting
-
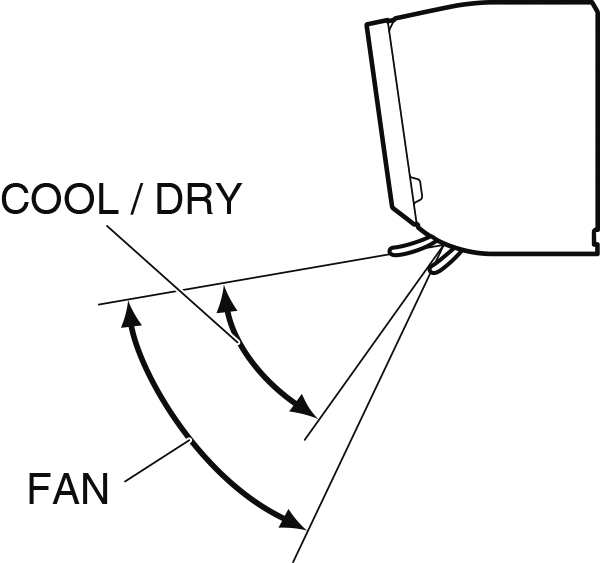
The movable range of the flaps varies according to the operation mode. Refer to the picture below.
Movable range of the flaps
Close
To adjust the louvres (vertical blades)
Press
.
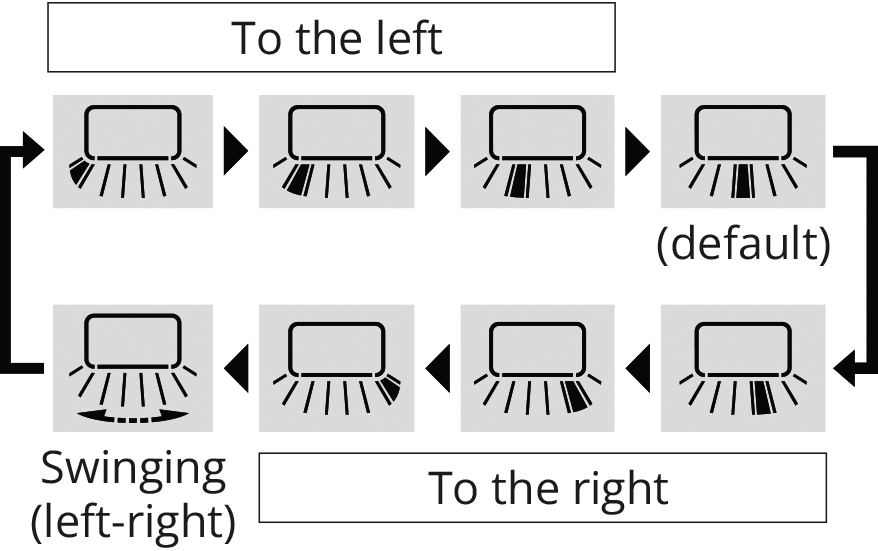
- Each time you press the button, the airflow direction indicator changes. (Some indicators may not appear depending on the setting of “Installed position”.)
-
The louvres (vertical blades) will begin to move horizontally.
The airflow direction : 7 steps
NOTE
Note on left and right airflow direction
-
Depending on the installation position of the air conditioner, the icons may not appear in the same way as shown above.
The icons above are shown when the air conditioner is installed in a central position.
Close
3-D airflow direction
Press
and
, and set the vertical and horizontal airflow directions to “Swinging”.
- “
 ” and “
  ” appear on the LCD.
 - The flaps (horizontal blades) and louvres (vertical blades) will move alternately.
-
To cancel 3-D airflow, press either
or
again.
The flaps (horizontal blades) or louvres (vertical blades) will stop moving.Swinging
(up-down and left-right)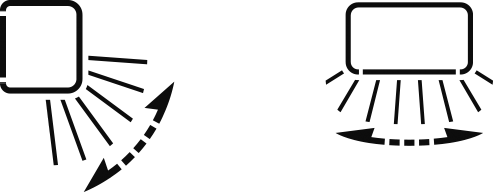
NOTE
Note on 3-D airflow
- Using 3-D airflow circulates cold air, which tends to collect at the bottom of the room, preventing areas of cold developing.
Close

 Full manual PDF

